DIY Digital “Emphasis with Color” Project
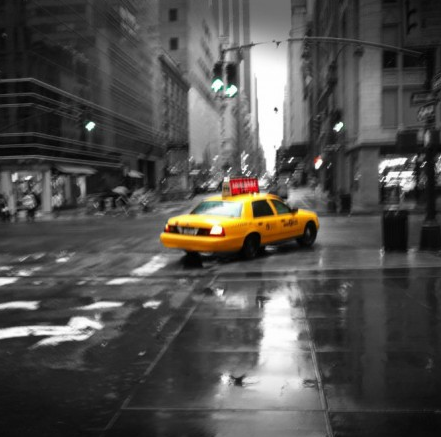
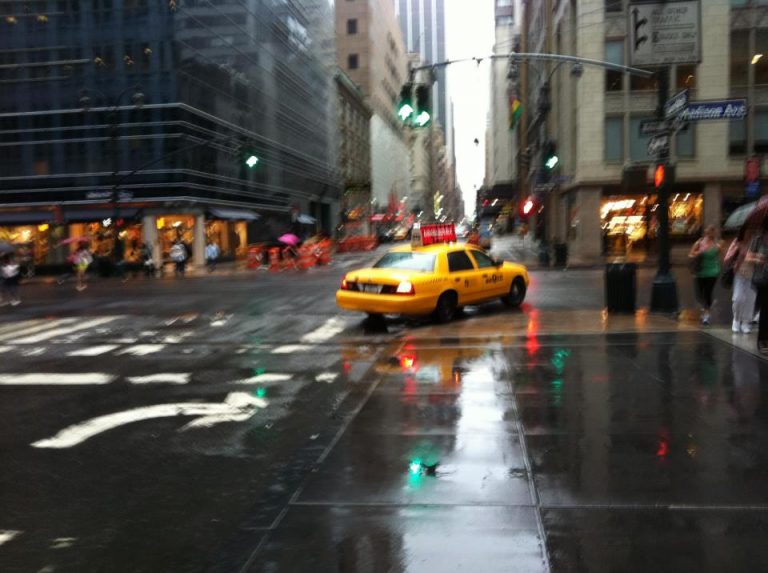
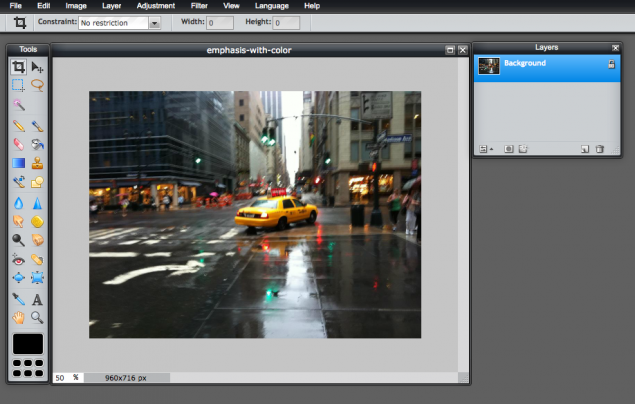
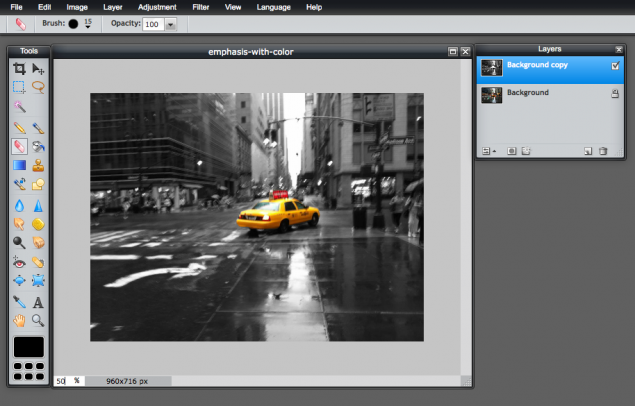
One way to emphasize an object in your designs is to provide a lot of contrast (read more here). Today we will show you how to use color to emphasize an object. In contrast with the black and white surroundings, the yellow cab becomes the most dominant object amidst the city scene below:
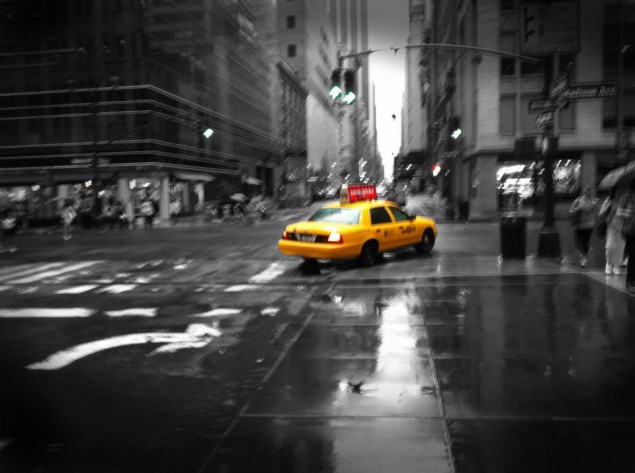
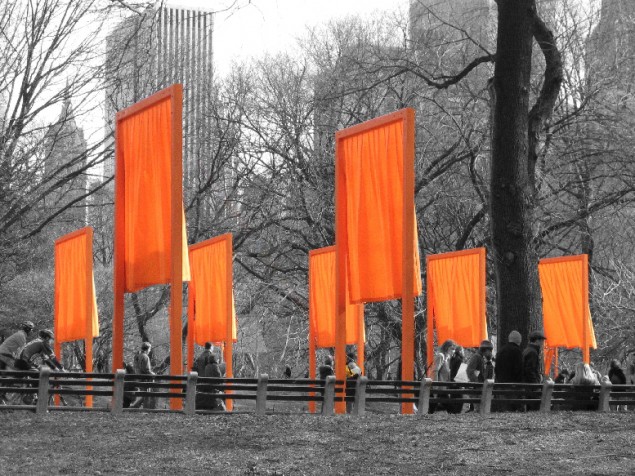
You can use the NYC example if you like, or pick another image. Here is one that one of our students made:
First, right-click on the image below and save it to your computer.
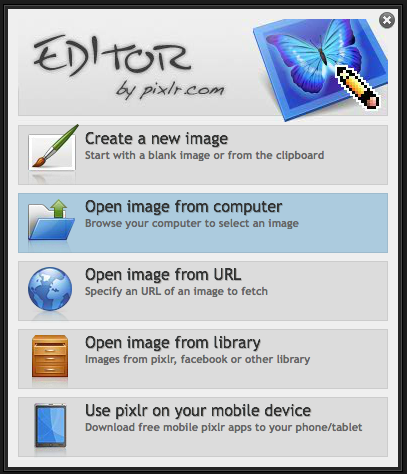
Next, to start creating your masterpiece, go to Pixlr and choose “Open image from computer” as shown below:
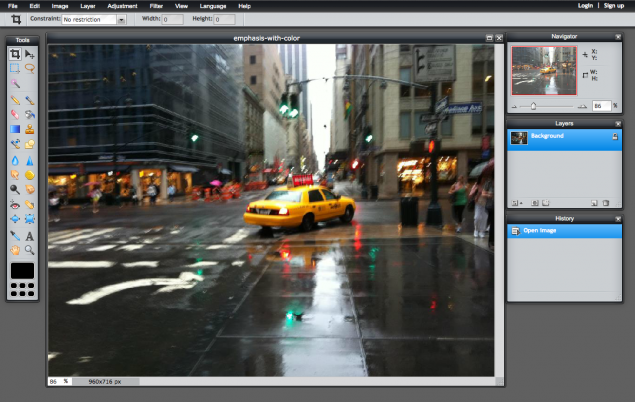
Browse to find the taxi cab picture, and it will open within Pixlr.
At right, click the “X” in the corner of two of the palettes called Library and History, so that only Layers is left open:
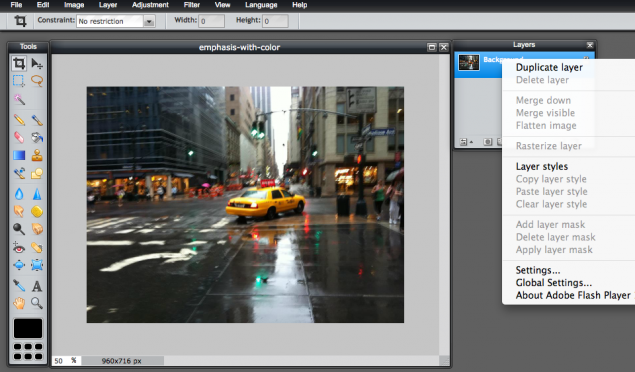
Next, right-click on your taxi cab layer and pick Duplicate layer:
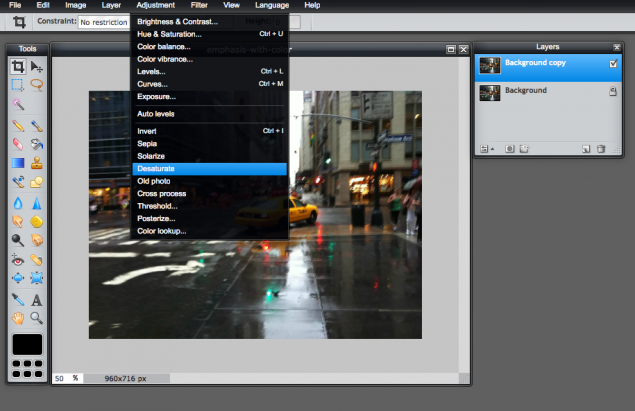
Next, go to Adjustment > Desaturate to turn this layer into a black and white image:
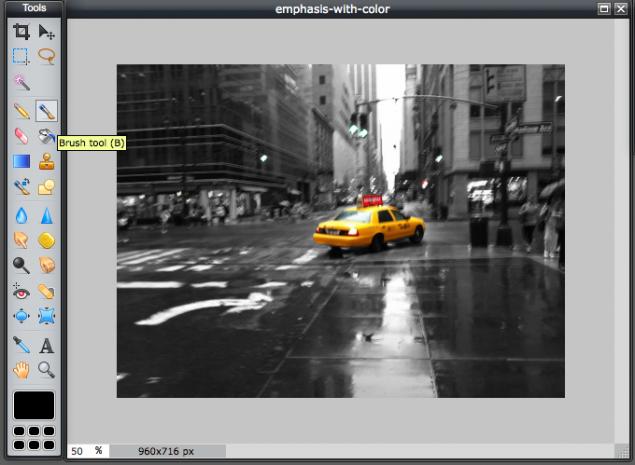
Next, we are going to pick the Eraser Tool at the left:

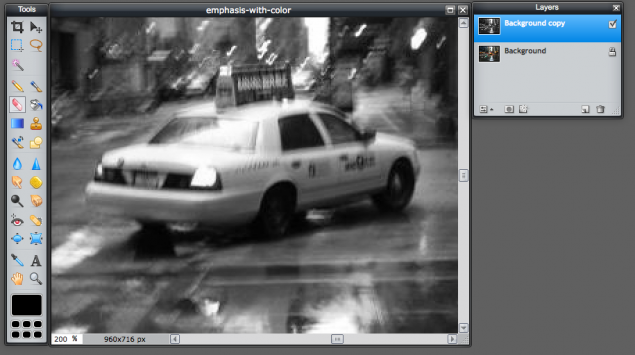
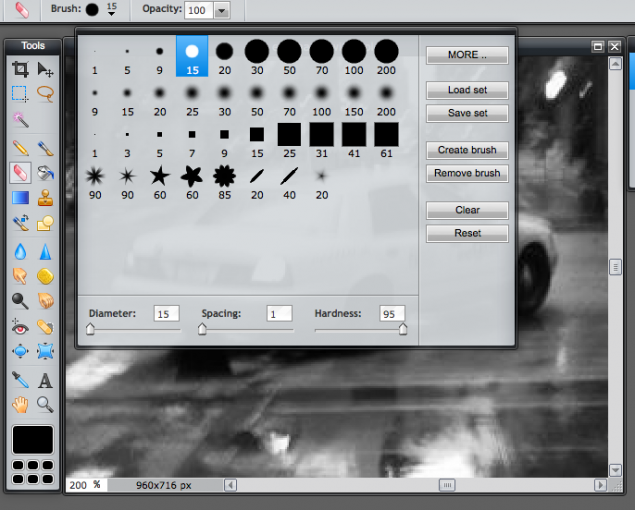
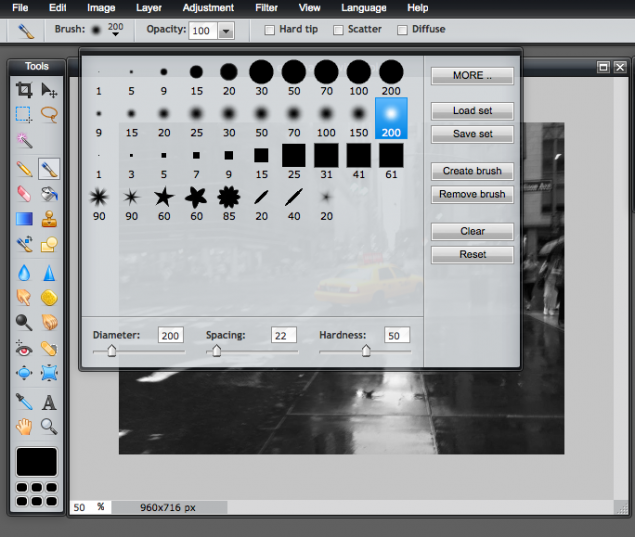
Notice that in the lower left corner of the picture that there is a percent value shown (our example above says 50%). Change this to a higher number to zoom in (our example below says 200%):
Now that you can clearly see what you are doing, change the size and shape of your eraser. An eraser with a hard (not fuzzy) edge is best:
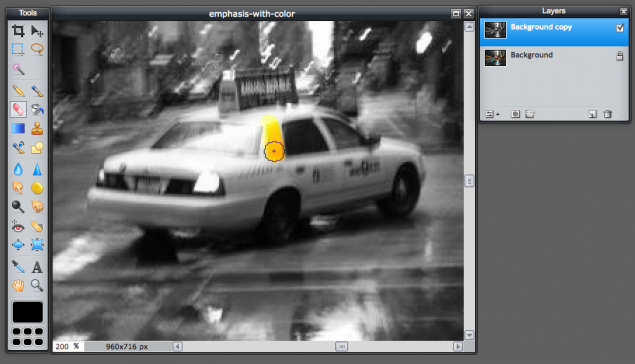
Now you can carefully start to erase:
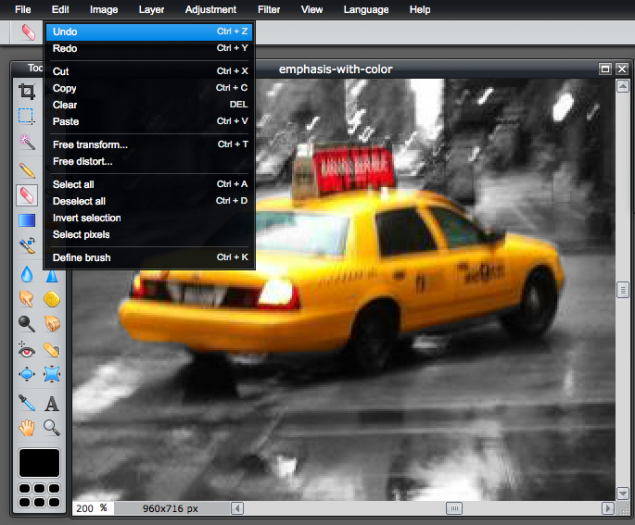
If you make a mistake, go to Edit > Undo:
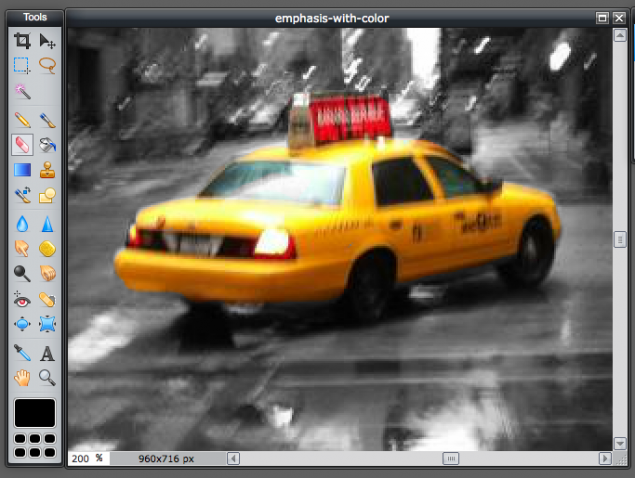
Finish erasing the car and zoom out:
If you would like to, you can erase some of the lights:
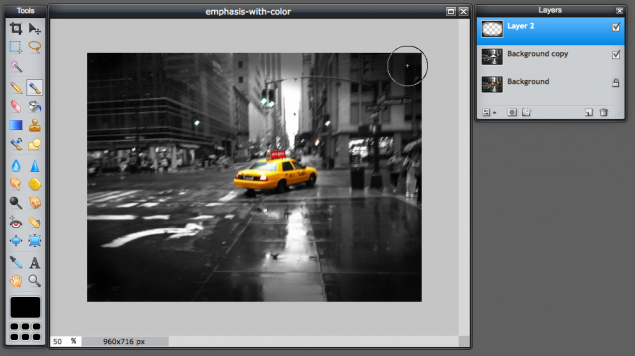
To further emphasize the cab, you can darken the edge of your photo. At the bottom of the Layers Palette, you will see an icon that looks like a piece of paper with a star in the upper corner. Click it to make a blank, new layer:

From the tools at left, switch to the Paint Brush, and pick the color black, and use a soft-edged, big brush:
It is helpful to change the Opacity, and reduce it from 100% (in the example below, we changes it to 25%):

Now you can start painting the edges of your photo:
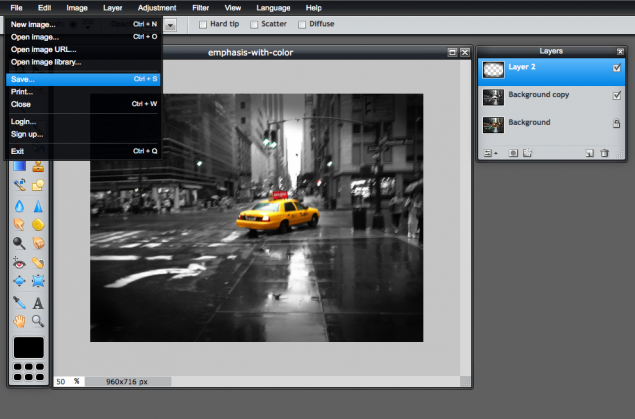
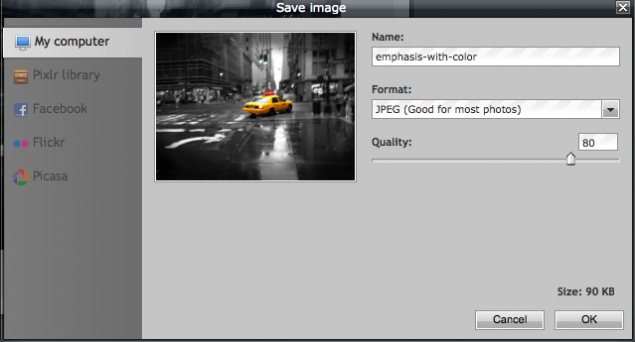
When you are done, save your work: