DIY Digital Kaleidoscope Projects for Kids

Today we have a couple fun kaleidoscope projects for kids. You may have tried our Kaleidoscope Tiles project and read our post on Principles of Design: Balance.
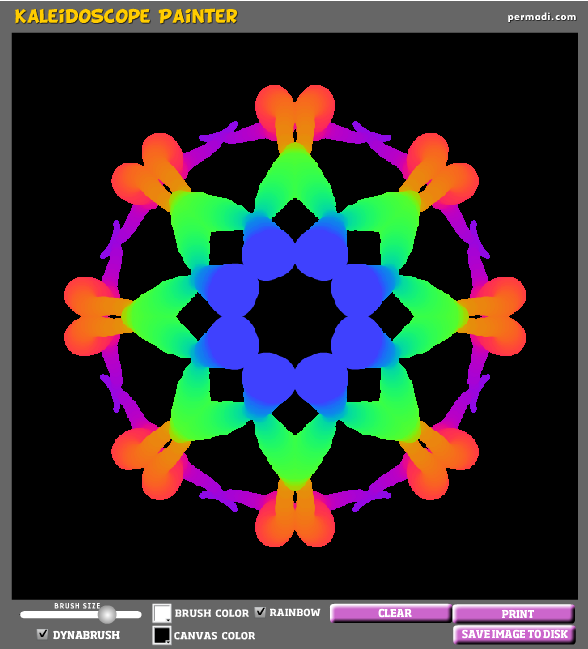
The first project is great for all age levels. You can use the online Kaleidoscope Painter to digitally make and download your kaleidoscope.
The second project works well for older kids, but with your help, younger kids can try this too. We are going to walk you through how to use a free online photo editor to make a Digital Kaleidoscope. You can create an effect that is either symmetrical or asymmetrical.
For a symmetrical work of art, the arrangement of objects on one side of the work mirrors the arrangement of objects on the other. If you would rather create an asymmetrical work of art, then you won’t make the 2 sides mirror each other.
To create a balanced design you want the visual weight of the elements used to be distributed across the design. You can read more about balance here.
To start, save the image below by right-clicking it and choosing Save. Otherwise, you can use one of your own images.

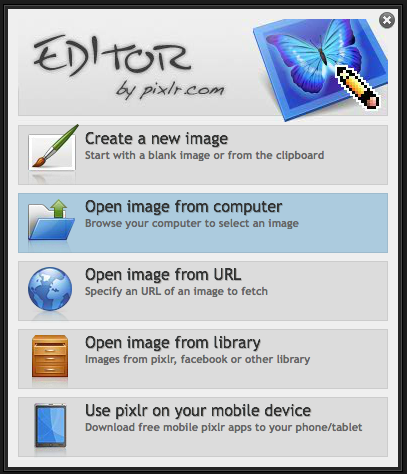
Next, go to Pixlr and choose “Open image from computer” as shown below:
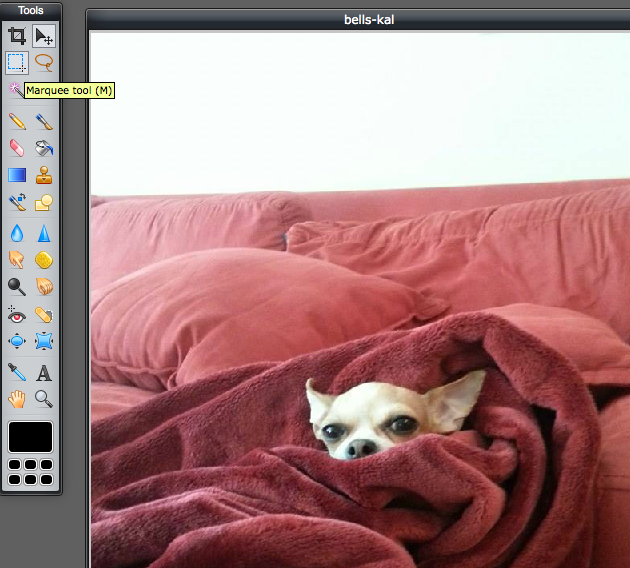
First, let’s crop the image. Choose the Marquee tool at left and drag a box around the area you like.
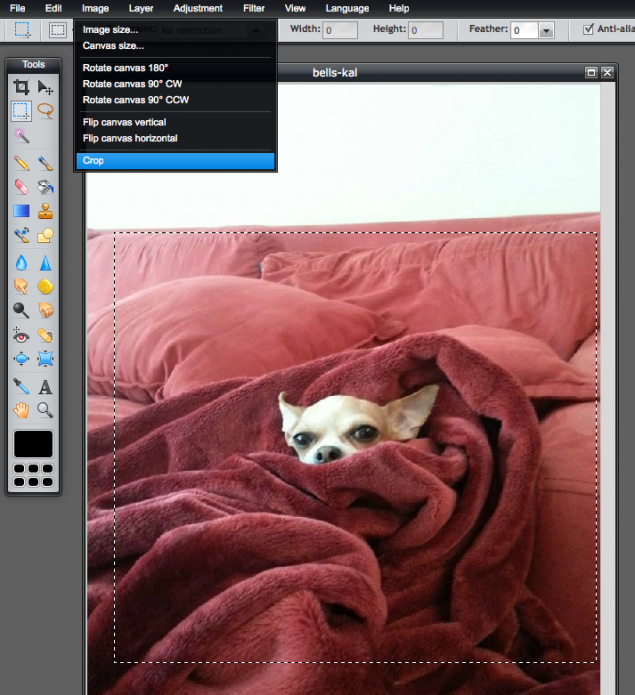
Next you will go to Image > Crop as shown below:
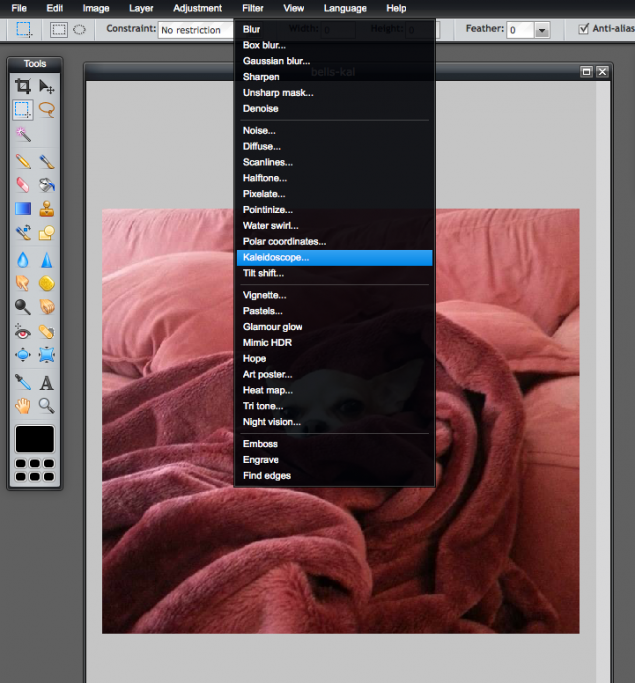
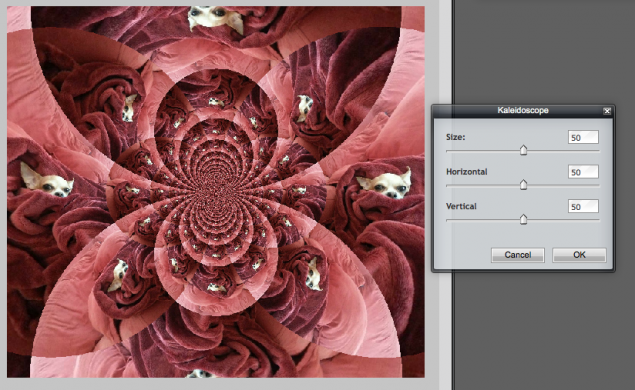
Now we are ready for the fun! Go to Filter > Kaleidoscope to add the kaleidoscope effect.
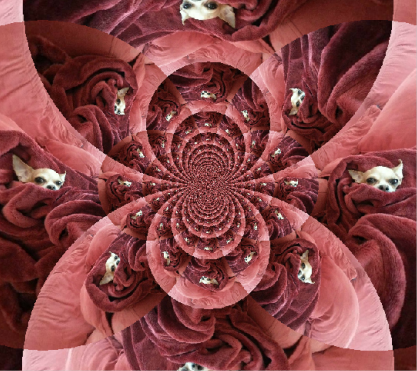
Now you can play with the settings. To start off, you probably have a symmetrical design:
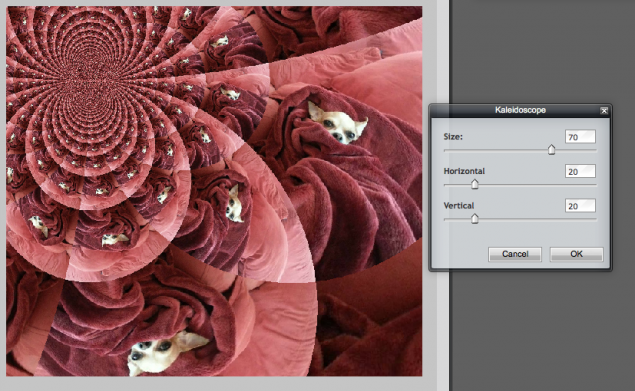
Feel free to drag the sliders around…
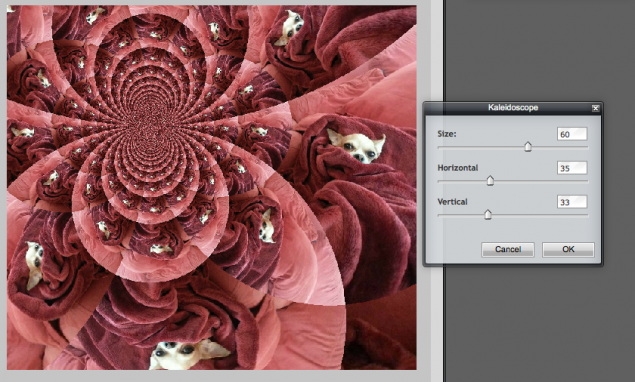
… play some more…
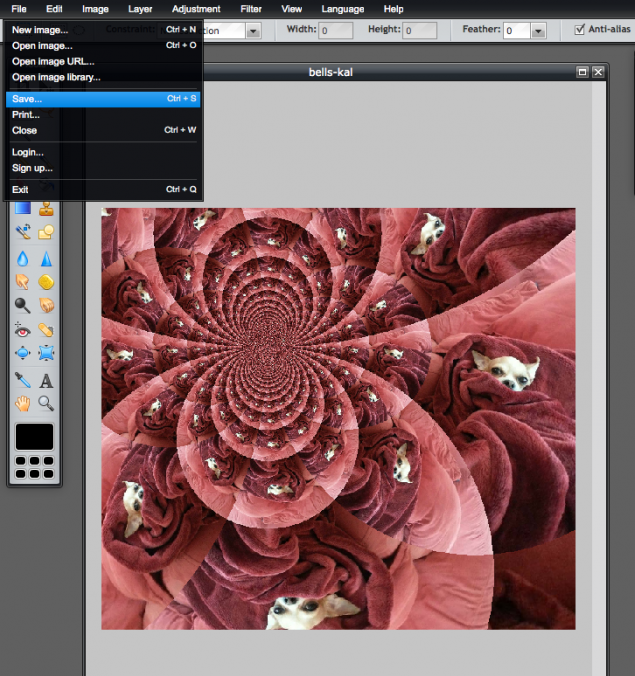
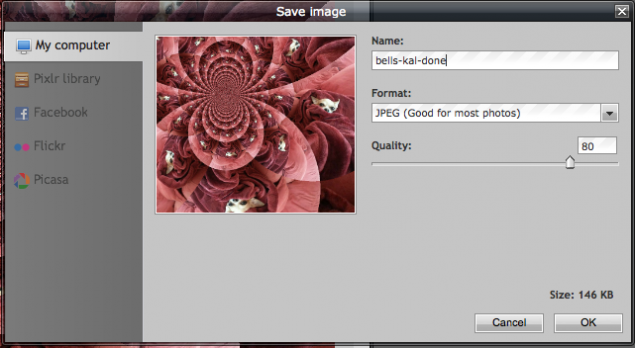
When you are happy with your digital art go to File > Save as shown below. You can save your work as a JPEG to your computer.